got it!

I have been on a hunt for a specific shot for several years now. It’s been a photographic challenge to capture the moon; not just the moon but a full moon as it rises. This task is made difficult for a number of reasons. First, the moon is full every 28 days. Second, it’s rotation around the earth as the earth rotates means the moon may be full and rise during bright daylight. Third, in a month when it will be visible in darker hours, sky conditions may conceal it altogether. And, knowing where exactly on the horizon it will appear is difficult to know for sure. Last summer, I caught the moon at Sandbar Lake just a little late. The post is here.

The best light for moon pictures is at dawn or dusk. The darker the sky the brighter the moon will appear and the more blown out in a picture. Sunrise and sunset data is readily available on weather site. Moon rise and set is a little harder to find. Where it will rise relative to where you are is even more difficult to determine. I’ve found an amazing application (free for desktop and $8.99 for smart phones) called The Photographer’s Ephermeris. This app allows you to pinpoint your location anywhere in the world for any day and it will give you the angle and time of both sun and moon rise and set. Here’s the screen shot from my desktop yesterday when I pinned the west shore of Sandbar Lake not far from my home.  I was hoping there would be an attractive foreground and not too distant lake shore for my shot.

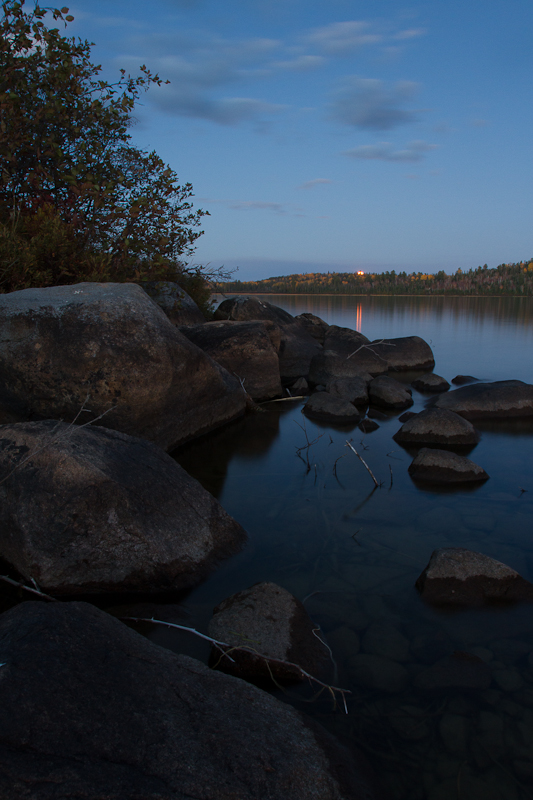
With the app on my iPhone, tripod and flashlight added to my camera gear, my happy hound and I headed up the gravel road about 20 minutes before the estimated moon rise time. The shoreline of Sandbar is not readily accessed along this west side. A short walk through the brush brought me to the shore approximately where I pinned. With the compass in the app pointed north, I realized the angle would be directly along the shore I was on. I had my rubber boots on so headed north along the lake edge just in the water. Turns out my boots were just a little shorter than the water was deep! Ah, the price we pay to get the shot we want. Finally, I found a bit of a bay and set up. And waited.

Yay! Got it!

The pictures don’t truly show how dark it was. Finding my way back down the shore and through the bush would not have been possible without my flashlight and four-legged companion, Lindor! 🙂

Photo tip: Next time (I still want more) I will bring a second tripod and camera body so I don’t have to fumble around to switch lenses. The moon rises relatively quickly and with darkness descending even more quickly, I wasn’t able to get set with the bigger lense. Next full moon is Oct 29….

lower Raleigh Falls

This sequence of shots just a little down stream were taken quite late in the day. I wanted to take advantage of less light for slower shutter speeds to give me the silky water look.

6.0 sec exposure, f/8.0, ISO 320
4.0 sec exposure, f/3.2. ISO 320

I love how purple the rock in the foreground came out in the shot.

6.0 sec exposure, f/8.0 ISO 320

Photo tip: when shooting at or after sunset, be sure to have a flashlight along to find your way home!

leap into focus

This past week end, we attended the Kenora Harbourfest and participated in the Classic Car Show with our ’69 Camero. I took lots of pictures of parts of cars so don’t be watching future posts for shots of the 100+ cars on display. I focussed on (pun intended) wheels, chrome reflections and classic detailing. One of my favourite vehicles was a 1936 Ford pick up with this leaping greyhound which looks a lot like the iconic jaquar hood ornament. Ironically, Ford bought Jaguar in 1989. Who copied whom?

Photo tip: The amount of what is in focus is related to the aperture setting (measured in f-stops). I’ve always been confused by how this is explained, “small minimum aperture (larger maximum f-number) allows for a wider depth of field…” What I do know is the smaller the f-number, the more expensive the lense!! I have also figured out the lower number, the faster the shutter and the crisper the image. Of course this is very important with moving subjects. I usually shoot in aperture mode at the smallest number my lense will allow. What happened with the above image was, having my zoom out full (200mm) and aperture at f/2.8, only part of the ornament ended up in focus. Considering the shutter speed was 1/1250 of a second and the vehicle was not moving, I could have easily adjusted the aperture to f-11 or f-14 (is that bigger, smaller, wider, narrower, I don’t know!) Making the f-number adjustment would have brought the whole greyhound in focus. A way to remember the f-stop to use: the lower the f-number f-2.8 or f-4), the shallower the depth of field (less will be in focus) like for a butterfly on a flower with a dreamy blurred background; the higher the f-number (like f-22 or f-29) more will be in focus best for landscapes with everything in focus.
Start saving up for those sweet, pricey lenses….

double dipping

While visiting friends at their cabin on Caliper Lake recently, I was able to capture the activity around their rather popular hummingbird feeder. This pair, male on the left and female on the right, took turns taking a drink. I overlaid two of the images in PhotoShop and reduced the opacity of one of the layers to give movement to image.

 Photo tip: Since I didn’t have my tripod along, I used my elbow on the window ledge as one support and the front of the camera lense against the window as another.

sunbeams at dawn

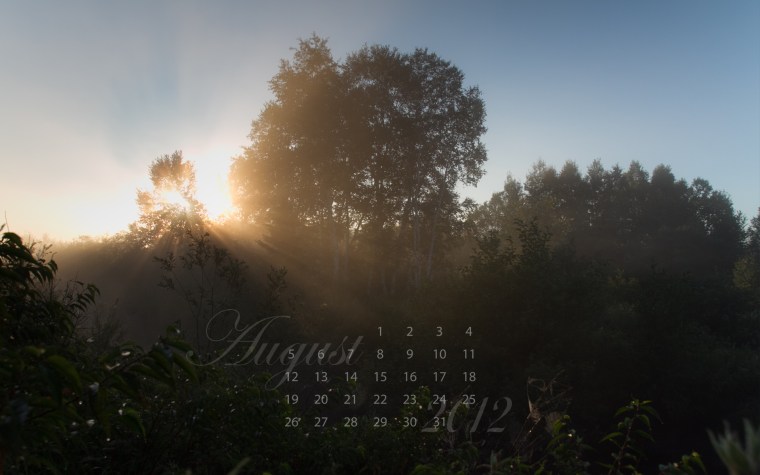
I hope you have been enjoying the rays of sun on July’s desktop. I have more for you! This time I caught sunbeams at dawn reaching through morning mist at the creek. For specific screen resolutions, go here. I have a bonus option there, too!

free desktop nature calendar august 2012

It is difficult for the camera to balance the contrast between the brightness of the clear sky with the darkness of the foreground. A graduated neutral density filter can be physically added to the front of the lense to darken the sky somewhat but I did not have mine along. Fortunately, in Adobe Lightroom, where I do all my image upload, storage, rating and post-processing, there is a digital version of the graduated neutral density filter. I added a touch of darkness to the sky which brought more blue out and another digital filter to the foreground to reduce the darkness. Like seasoning your food, the amount added is personal preference. Below it a screen capture of the before and after of this process in Lightroom.

On the far right, you can see the amount of exposure compensation selected (-1.20) which is greatest at the top and fades to clear through a designated area centered horizontally above and below a selected point shown as a grey button (just to the right of the sun in the image). Like the physical graduated filter, the digital adjustment is linear. Lightroom also offers a large number of other adjustment tools. There are photographers who prefer to do as much in camera as possible and next to nothing in post-processing. I am quite happy to have come to this hobby in the age of all things digital and enjoy learning both camera and computer.

feather clouds

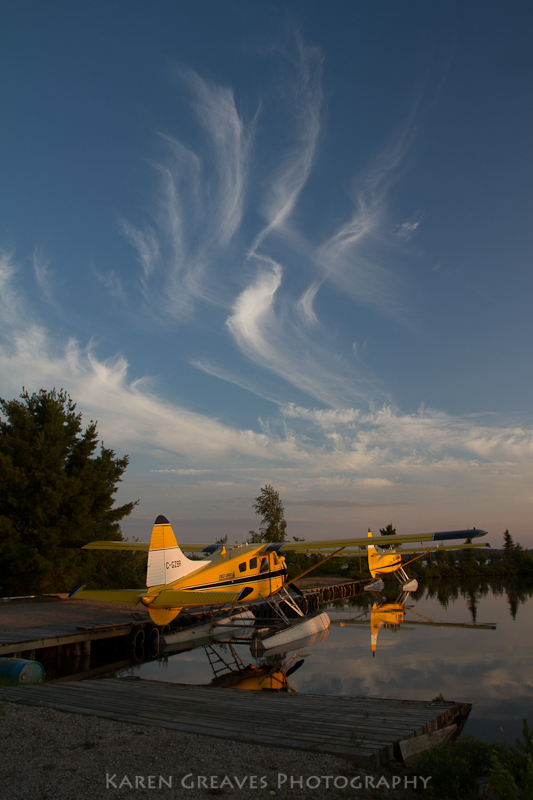
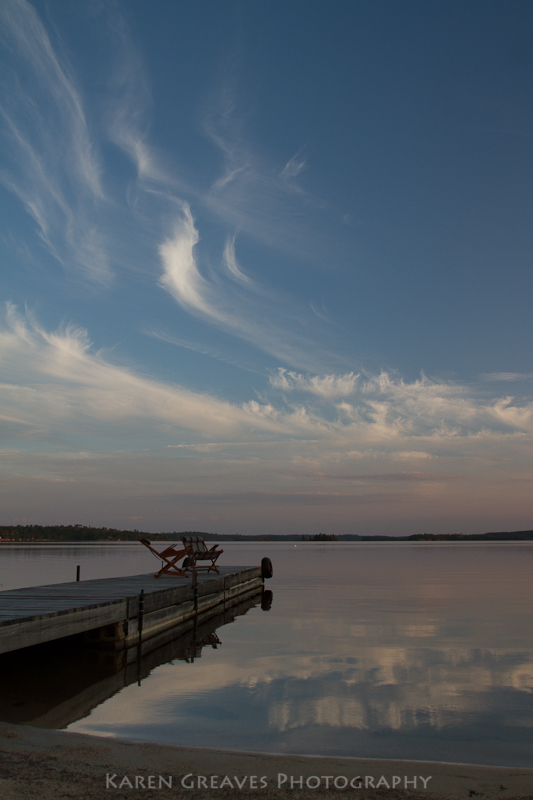
These delicate strokes of high altitude ice crystals are part of the cirrus family of clouds also known as mare’s tails. Here’s a cool resource for all things cloud.
Not only were we treated to these clouds at sunset, but the lake was calm!
Calm is a rare treat here at the water’s edge.
Calm is my camera’s friend.
(So is Photoshop – not so nice blue barrel in lower left corner…didn’t notice that when I was shooting…will have to move that next time.)
Very basic but important photo tip: Look for distractions in the entire frame and adjust the angle or zoom accordingly or, if possible, remove the unwanted item(s). It may be easier to do at the time of the shot than in post=processing.

Here’s the view from my neighbour’s beach.