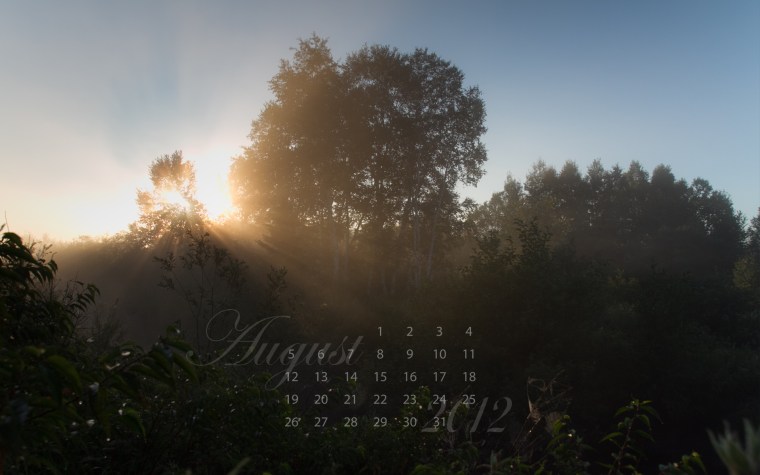
I hope you have been enjoying the rays of sun on July’s desktop. I have more for you! This time I caught sunbeams at dawn reaching through morning mist at the creek. For specific screen resolutions, go here. I have a bonus option there, too!

It is difficult for the camera to balance the contrast between the brightness of the clear sky with the darkness of the foreground. A graduated neutral density filter can be physically added to the front of the lense to darken the sky somewhat but I did not have mine along. Fortunately, in Adobe Lightroom, where I do all my image upload, storage, rating and post-processing, there is a digital version of the graduated neutral density filter. I added a touch of darkness to the sky which brought more blue out and another digital filter to the foreground to reduce the darkness. Like seasoning your food, the amount added is personal preference. Below it a screen capture of the before and after of this process in Lightroom.

On the far right, you can see the amount of exposure compensation selected (-1.20) which is greatest at the top and fades to clear through a designated area centered horizontally above and below a selected point shown as a grey button (just to the right of the sun in the image). Like the physical graduated filter, the digital adjustment is linear. Lightroom also offers a large number of other adjustment tools. There are photographers who prefer to do as much in camera as possible and next to nothing in post-processing. I am quite happy to have come to this hobby in the age of all things digital and enjoy learning both camera and computer.
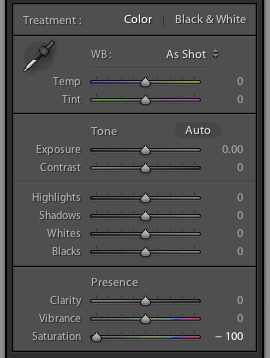
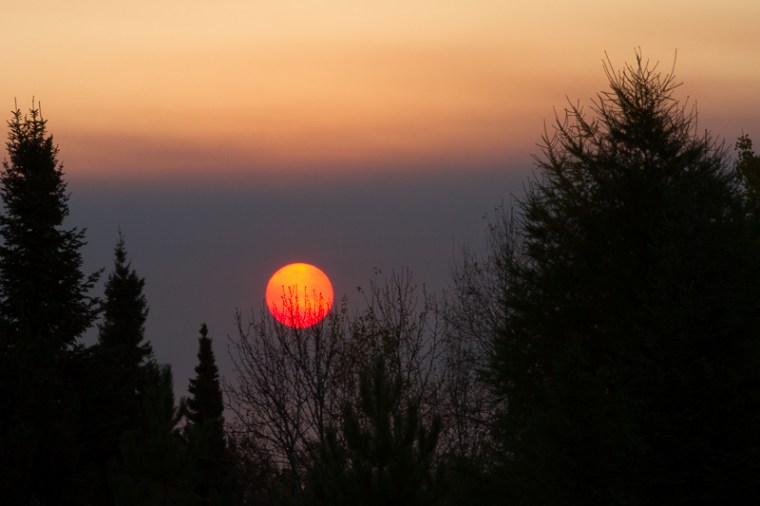
 Straight out of the camera, this scene appears to be shades of black and white.